
Arrange the interface
tessoa supports reordering sidebar component tabs, context-menu items and Details columns. This page covers their drag actions and settings.
What the three have in common
- Dragging applies immediately. Hold an item, drag to the insertion position and release; no setting needs to be enabled first.
- The order is remembered. Sidebar arrangements restore with each window's session; menus and column layouts follow their own settings scopes.
- Menus and columns also have settings pages. Use their up and down buttons to reorder, as described below.
The order of sidebar sections
Sidebar sections appear in component tab strips, with one page visible per pane. Tabs can be reordered within a pane or moved to another pane.
- Hold a component tab, such as Tags.
- Drag left or right within its tab strip, or onto another pane's tab strip.
- Release at the desired insertion position.
Dropping a component tab at a content area's upper or lower edge creates a stacked pane when enough height is available; dropping into the middle of another pane joins that pane. Use the triangle on the strip's left to collapse a pane; clicking the tab itself switches pages. See Sidebar & component pages.
Use Settings → Sidebar to hide pages separately. Hiding a page does not delete its data or clear its place in the arrangement.
The order of context menus
There are two ways in: drag inside the menu itself, or arrange everything in the settings page.
Dragging inside the menu
Right-click to open a menu, hold one of its items, drag it up or down, and let go — it has moved. This is the quickest way to change things: to put Delete further from Open, one right-click is all it takes.
If you would rather not move things by accident, turn on Lock in-menu drag reorder in the settings and the menu stops responding to drags; the settings page is then the only way in.
Arranging in the settings page
- Press Ctrl+Shift+P (macOS: ⌘+,) to open Settings.
- Find the Input group and click Context Menu Order.
- Drag the rows on that page to change their order.
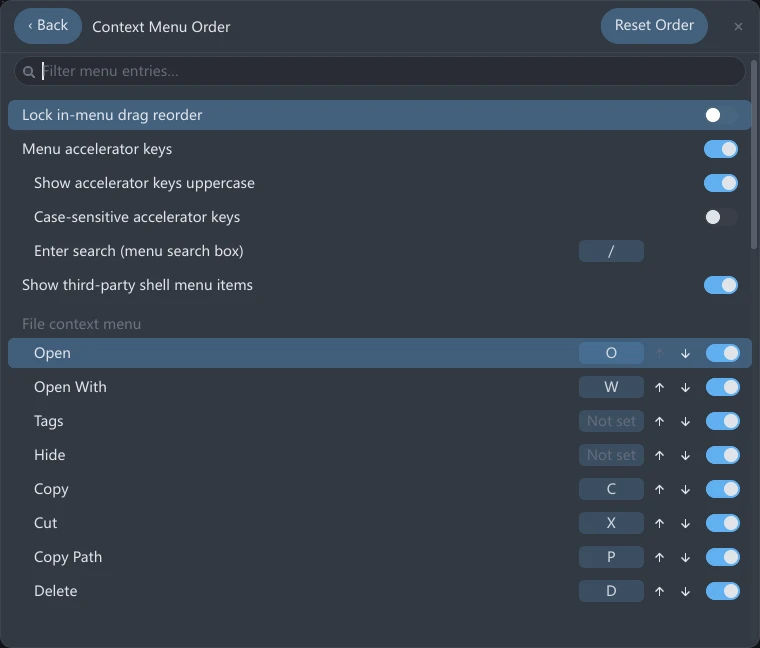
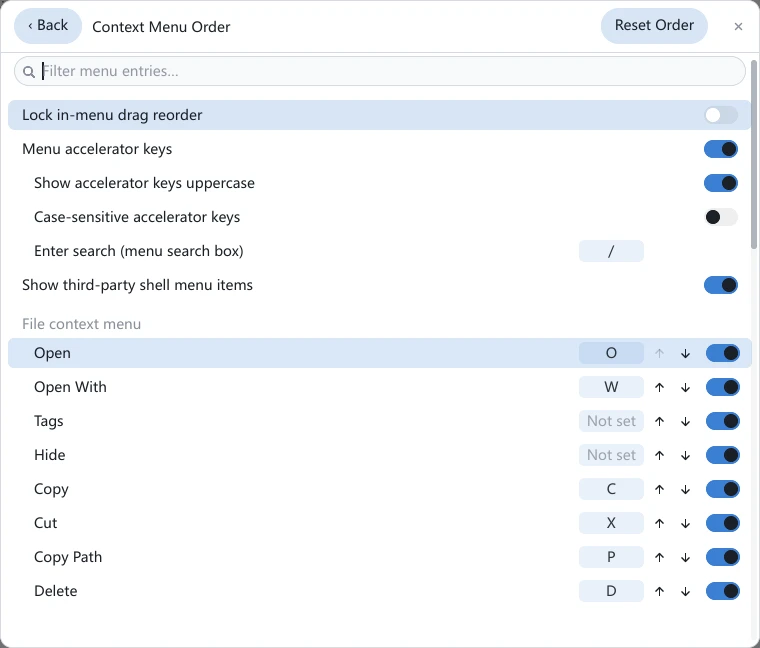
The page splits menus into five groups, each ordered separately:
| Group | Which menu |
|---|---|
| File context menu | The one from right-clicking a file or folder |
| Background context menu | The one from right-clicking empty space in the list |
| Sidebar · Tag menu | The one behind ⋯ on a sidebar tag row |
| Sidebar · Layout menu | The one behind ⋯ on a sidebar layout row |
| Sidebar · Bookmark menu | The one behind ⋯ on a sidebar bookmark row |
When a group has a lot of entries, use Filter menu entries… above the list instead of scrolling. Reordering works while a filter is active: the entries you moved take their new places in the full table.
Some of the entries other software installs write the name of the file you right-clicked into their own label — an archiver's Add to "report.zip" is the usual case. This page draws that part as <name>, so entries of that kind take a single row: whichever file you right-clicked, you are editing that one row, and its order, accelerator key and toggle then apply to the whole kind.
Reset Order puts everything back at once — it clears the order, the accelerator keys and the visibility of all five groups.
Keeping an item out of a menu
Every row on that page also carries a toggle at its right end. Switch it off and that item stops appearing in menus of this kind. A common use is taking Delete Permanently out of the file menu, or switching off a few entries you never use to make the menu shorter.
A row switched off doesn't leave the settings page: it stays in the same position, still holding its accelerator key, ready to be switched back on. The accelerator goes away with it, so a hidden item no longer occupies a letter.
This works per menu kind: the same item can stay in the file menu and be dropped from the background menu.
On Windows this page also lists the entries other software installed into the system — cloud drives, antivirus tools, 7-Zip and the like — and their toggles work the same way, see shell extensions. Custom commands are listed here too, under their current names.
The settings page only lists menu items you have opened at least once. A menu's contents change with what you right-clicked — one file, one folder, a multiple selection, or empty space each produce a slightly different set — so tessoa records them as it sees them. When a group reads (items appear here after you open that menu), right-click the matching target once and come back.
Menu accelerator keys
The same page also handles the letter accelerators. With Menu accelerator keys on, every item in a menu is assigned a letter; while the menu is open, pressing that letter runs the item, and / switches back to typing a search.
| Setting | What it does |
|---|---|
| Menu accelerator keys | The master switch |
| Show accelerator keys uppercase | Changes how they are drawn, not which key to press |
| Case-sensitive accelerator keys | With this on, an uppercase press no longer matches a lowercase accelerator |
| Enter search (menu search box) | The key that switches from accelerators back to typing a search; / by default |
A row that has no accelerator yet reads Not set in its key cell.
Changing the interface language means reordering the file and background menus once. tessoa identifies a menu item by the text it displays, and that text changes with the language — so after a switch the old arrangement no longer matches and the entries fall back to their default positions. The three sidebar menus are unaffected: they identify the action itself, independently of its wording. Switch back to the original language and your old order returns with it.
The columns of the details list
The details list has six columns: Name, Date Modified, Type, Folders, Files, and Size. All of them except Name can be hidden.
Reordering columns
Hold a column header and drag it left or right, then let go. The other columns move aside and slide into their new positions once you release.
Name does not take part in reordering — it stays pinned to the left as the first column.
Resizing columns
Move the pointer onto the divider between two columns, then hold and drag sideways. Dividers only respond in the header row, so nothing in the list area can trigger one by accident.
When you drag a column's right divider, that column's right edge follows the pointer: everything to the right shifts along keeping its own width, and everything to the left is untouched. When the columns together do not fill the window, dragging right consumes the empty space on the right first and only then starts squeezing the columns beyond — so the gap left behind by hidden columns can be taken back with a drag.
Double-click a divider and the column to its left fits its contents: the width settles at exactly what the longest entry in that column needs, and the columns beyond it shift along. File Explorer and Finder do the same. The width eases into place rather than jumping.
Choosing which columns are shown
Right-click the header row to open the Columns shown menu, which lists the six hideable columns, each with a tick. Clicking one shows or hides it and leaves the menu open, so you can carry on ticking.
| Entry | What it does |
|---|---|
| Age / Date Modified / Type / Folders / Files / Size | Ticked shows the column, unticked hides it |
| Name | Listed, but always ticked and not clickable; hovering it shows First column, cannot be hidden |
| Size columns to fit window | Redistributes the widths of the currently shown columns so they fill the window exactly |
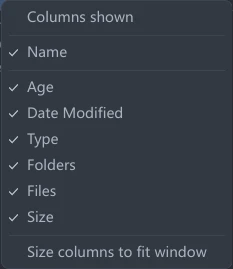
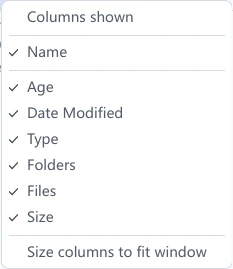
At least one column has to stay. When only one is left, its entry is not clickable and hovering it shows Keep at least one column.
A hidden column is put away rather than discarded: it remembers where it sat and how wide it was, and comes back to that position at that width. Hiding a column does not close the gap on the right — those widths are ones you dragged out yourself, and tessoa won't re-lay them out because you hid something else. To reclaim the space, use Size columns to fit window in the same menu, or drag a column's right divider rightwards until it meets the window's edge.
Managing them in Settings
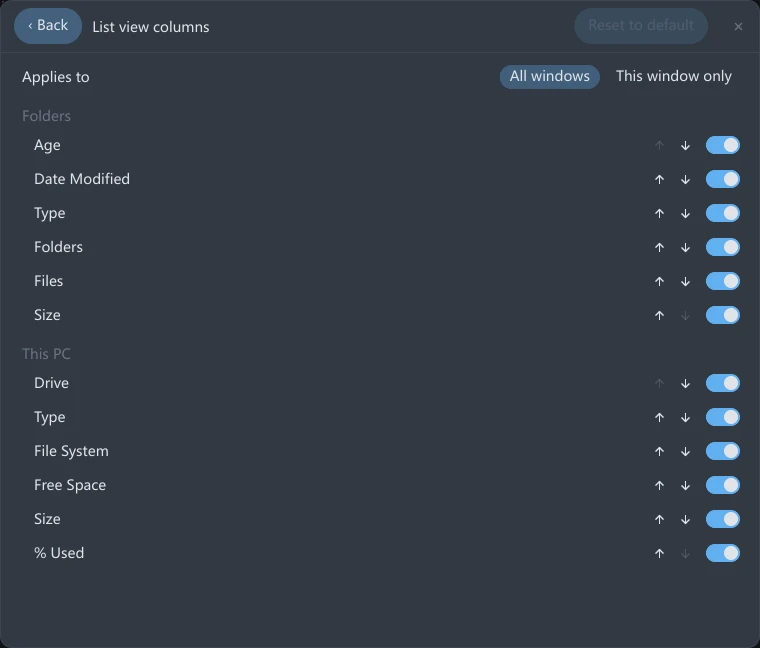
The same state has a page of its own, where order and visibility are handled together: open Settings, find the View group and click List view columns.
Applies to sits at the top of that page:
| Value | What it means |
|---|---|
| All windows | The default. Changes go to the global setting and every window follows |
| This window only | This window keeps a copy of its own, and changing it leaves other windows alone |
Below that the columns are split into two lists, ordered separately:
| List | Where it applies |
|---|---|
| Folders | Columns shown while browsing ordinary folders, including Age, the time since the last modification |
| This PC | Type, file system, free space, size, % Used, drive letter and other columns at the top level of This PC; Age is not available here |
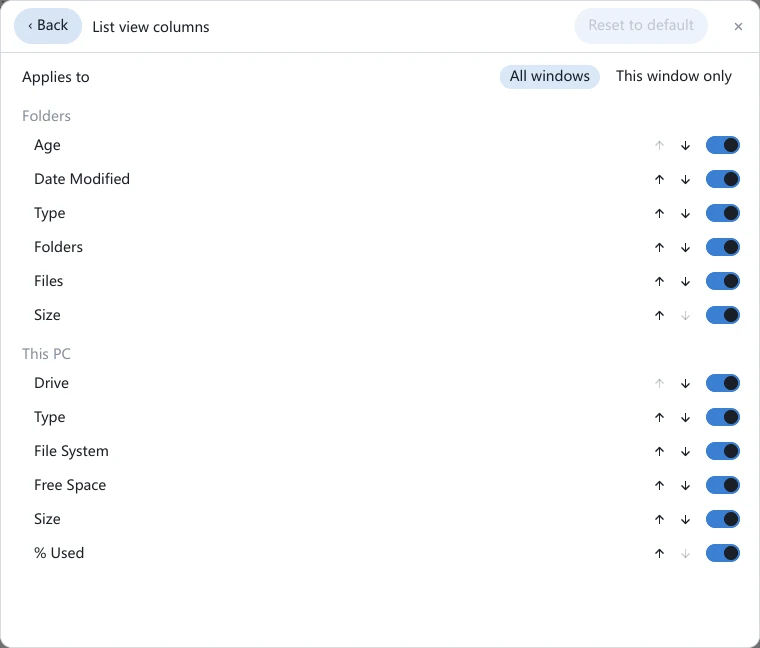
Each row is [column name] [↑] [↓] [toggle]: the arrows move it up or down, the toggle at the right decides whether it is shown. Reset to default puts one list back.
Column widths are still kept per pane. After a split both panes show the same columns in the same order, but each keeps its own widths — widening Name on the left leaves the right pane as it was.
Interface tour · View modes · Shell extensions · Settings overview